
Hardwood Flooring Compared:Which is best for your client’s situation?
Hardwood finished on site, engineered hardwood, and luxury vinyl tile or plank (LVT/LVP) differ in how they are installed, how they can be renewed, how they appear and how they respond to water. For many homes, floating LVP or engineered hardwood are the simplest to install. They allow clients and their furniture to stay in their house during installation. They offer wide boards and an economical price point compared to solid hardwoods. Solid hardwood flooring, on the other hand, yields a seamless look and the longest renewal life. The installation; however, is intrusive. It often requires clients to move out, sometimes with some of their furniture, and it can leave their house dusty for days to weeks.
The right choice depends on the desired look, room use, budget, subfloor, moisture conditions, and your tolerance for inconvenience.
| Floor Type | Common Installation | Durability & Repair | Cost | Notes |
|---|---|---|---|---|
|
Solid Hardwood (SH) finished in place |
Usually nailed or stapled over a wood subfloor; sanded and finished after installation. Wide boards may require glue and nails. | Finish is durable, but less so than EH and LVP. Can be refinished multiple times. Sensitive to moisture. Not good for wet areas. | Highest cost, especially for wide boards. | Most involved, often requires moving out. Cannot easily install onto concrete. Cannot float on its own. Can create a good flat surface for aging in place. Finishing results in dust, even with dustless systems. |
| Engineered Hardwood (EH) | Nail, staple, glue, or float, depending on the product and subfloor. | Real wood surface; refinishing possible, but some contractors will not. Finishes are harder than finishing in place. | Moderate for wide boards. | Installation possible without chemicals. Dust is minimal. No moving out. Furniture can remain. Floating floor on concrete possible. |
| Luxury Vinyl Planks (LVP) | Often click-lock floating; some products are glue-down or loose-lay. | Strong spill resistance; surface can scratch and dent, but generally durable. Cannot refinish, but can replace a board. Can be used in moist areas. | Lowest | Installation is without chemical finishes or sanding. No moving out. Furniture can remain. Usually easiest. Floating floor on concrete possible. |
Three Flooring Types
Solid Hardwood - finished in place
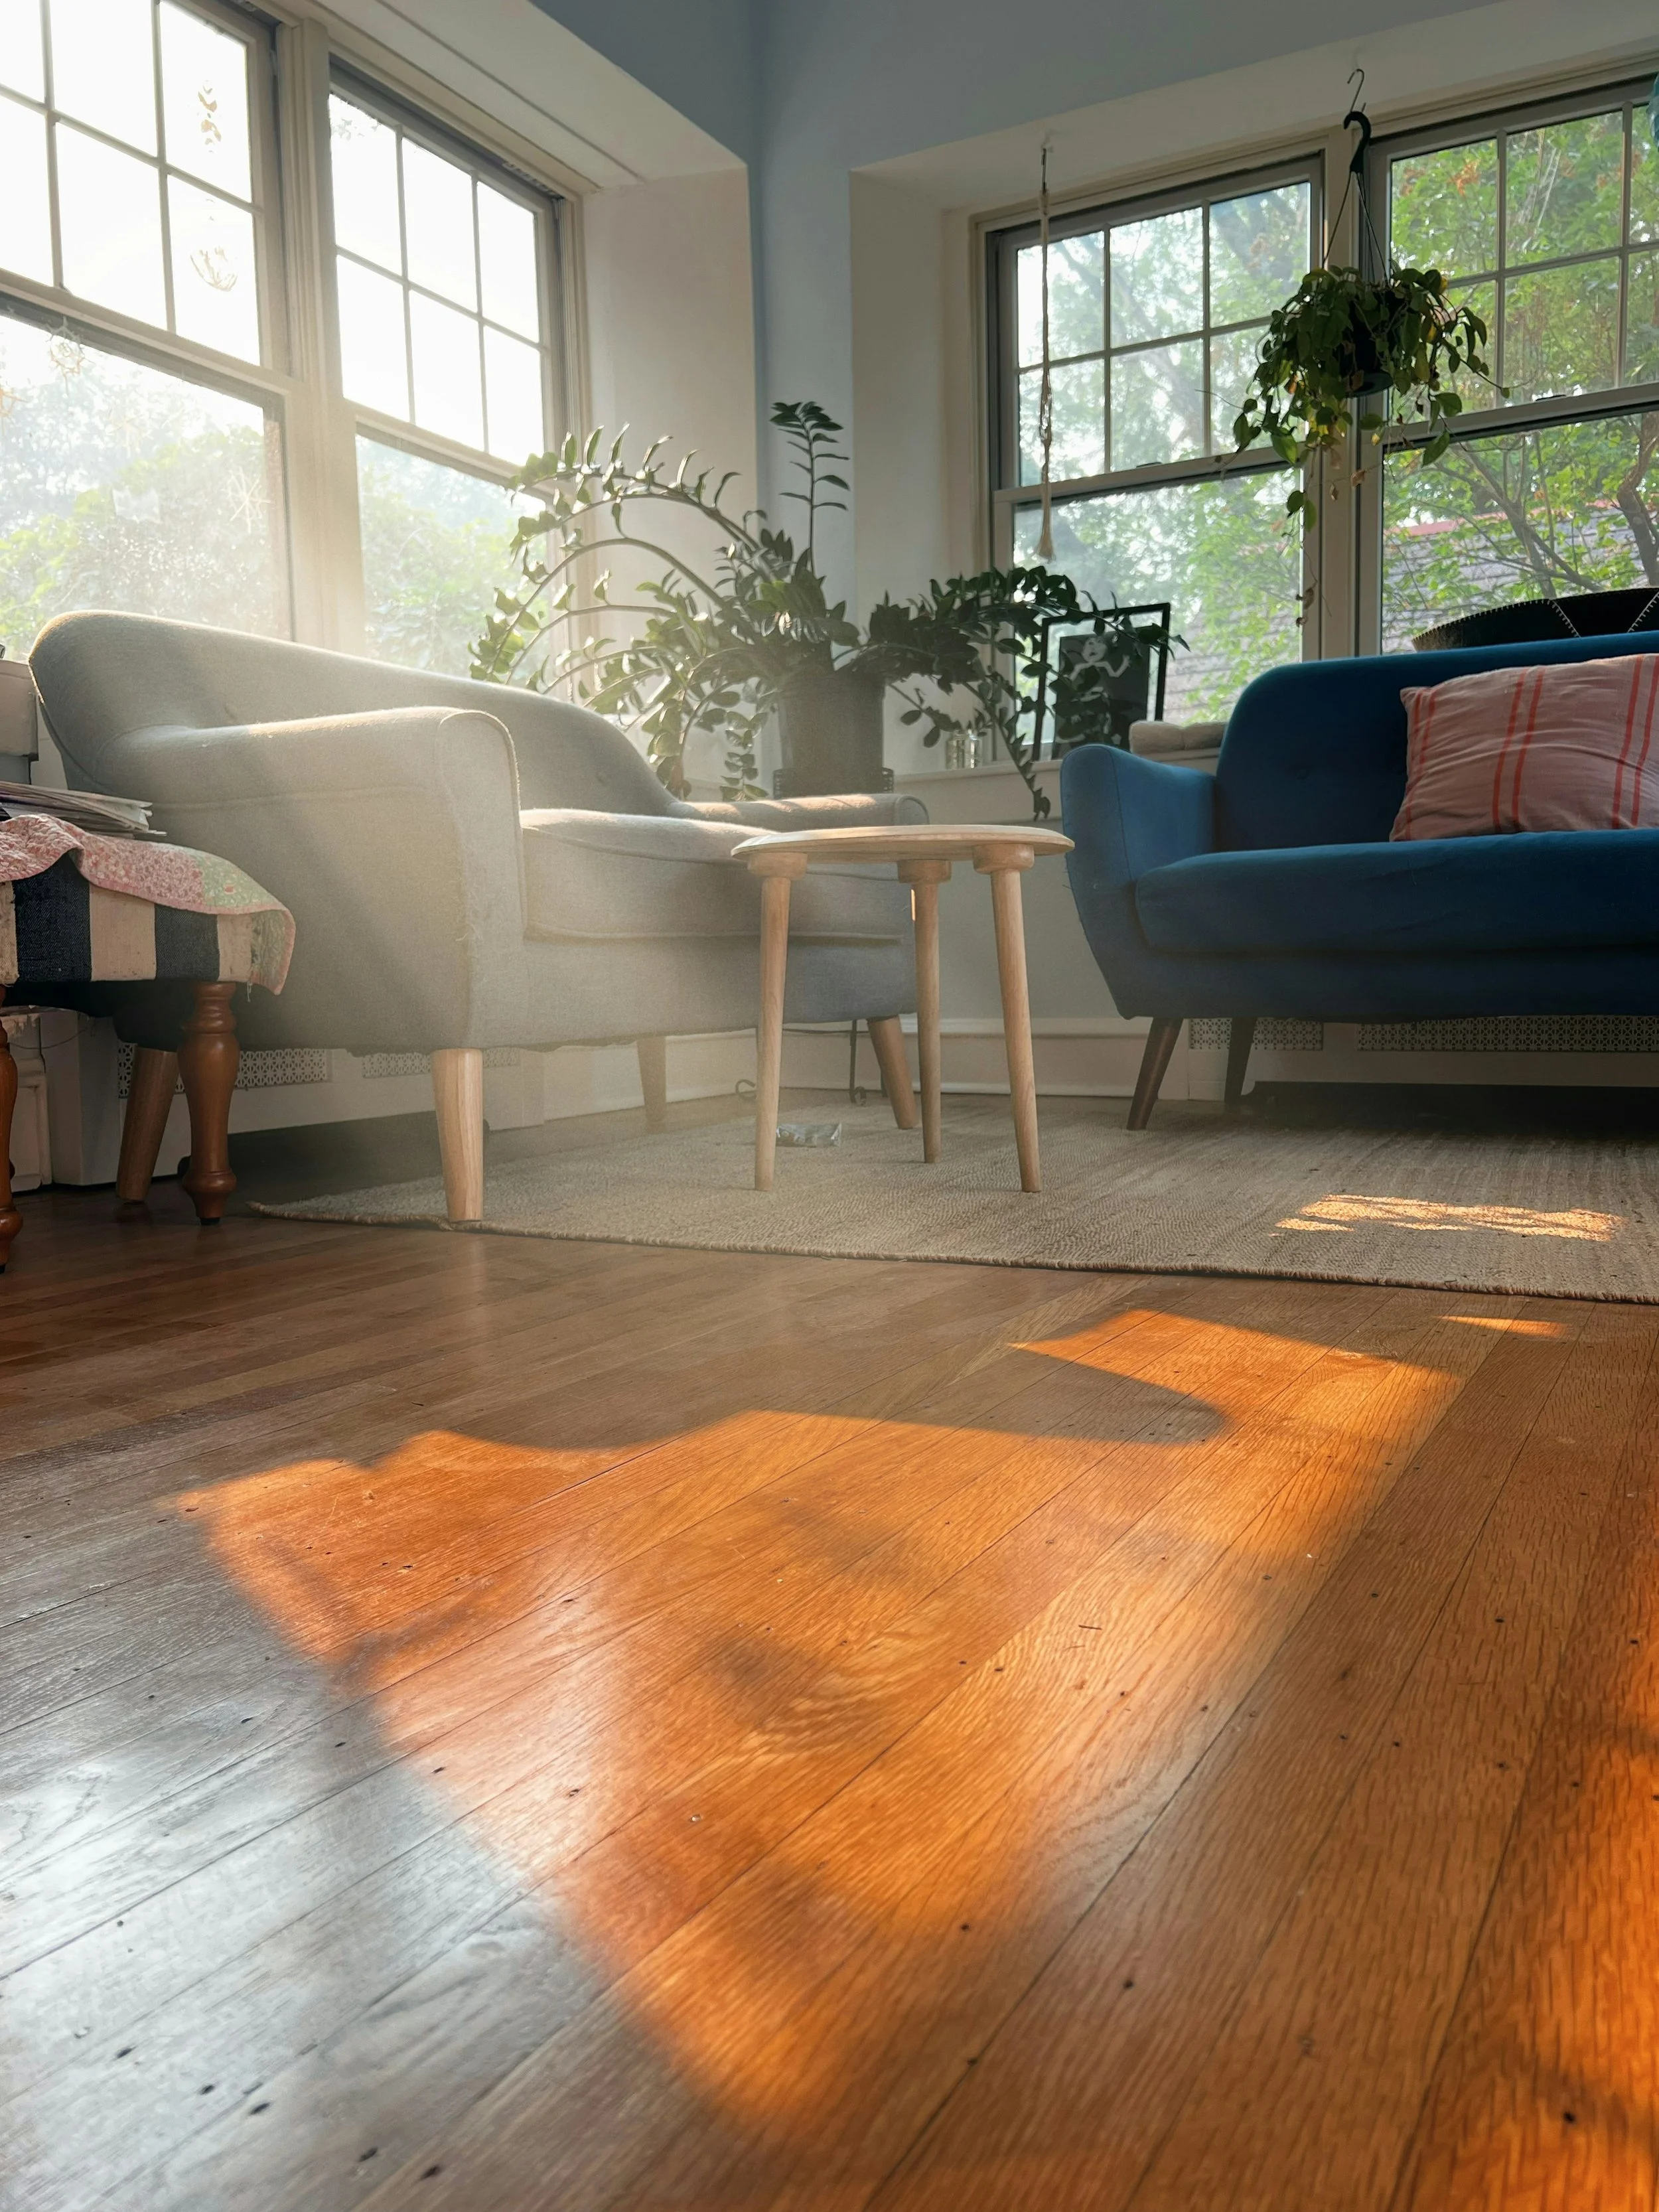
Solid Hardwood is unfinished solid wood flooring installed by fastening to a wood subfloor then sanded and finished inside the home. Because sanding happens after installation, the floor can be flat without saddles at the doorways. The work takes longer than laying a prefinished product since the boards must be installed, sanded, coated three times and allowed to cure. Cure time can vary with the outdoor humidity since windows have to be opened. High rise buildings may require water-based products or disallow finishing in place because of concerns about chemical smells.
The boards used are wood throughout its thickness. This allows the floor to be refinished multiple times over its life. The finish is softer than factory finishes, so it’s more prone to dents and scratches. It’s also prone to water damage. The lack of saddles at the doorways makes it ideal for aging in place.
Solid hardwood is comparable to engineered wood floors when the boards are narrow. As the boards become wider, engineered wood floors gain a price advantage as the solid boards become more expensive. When they reach 5 inches in width, they require being glued down in addition to being nailed. This is to prevent them from warping in the middle.
Engineered Hardwood
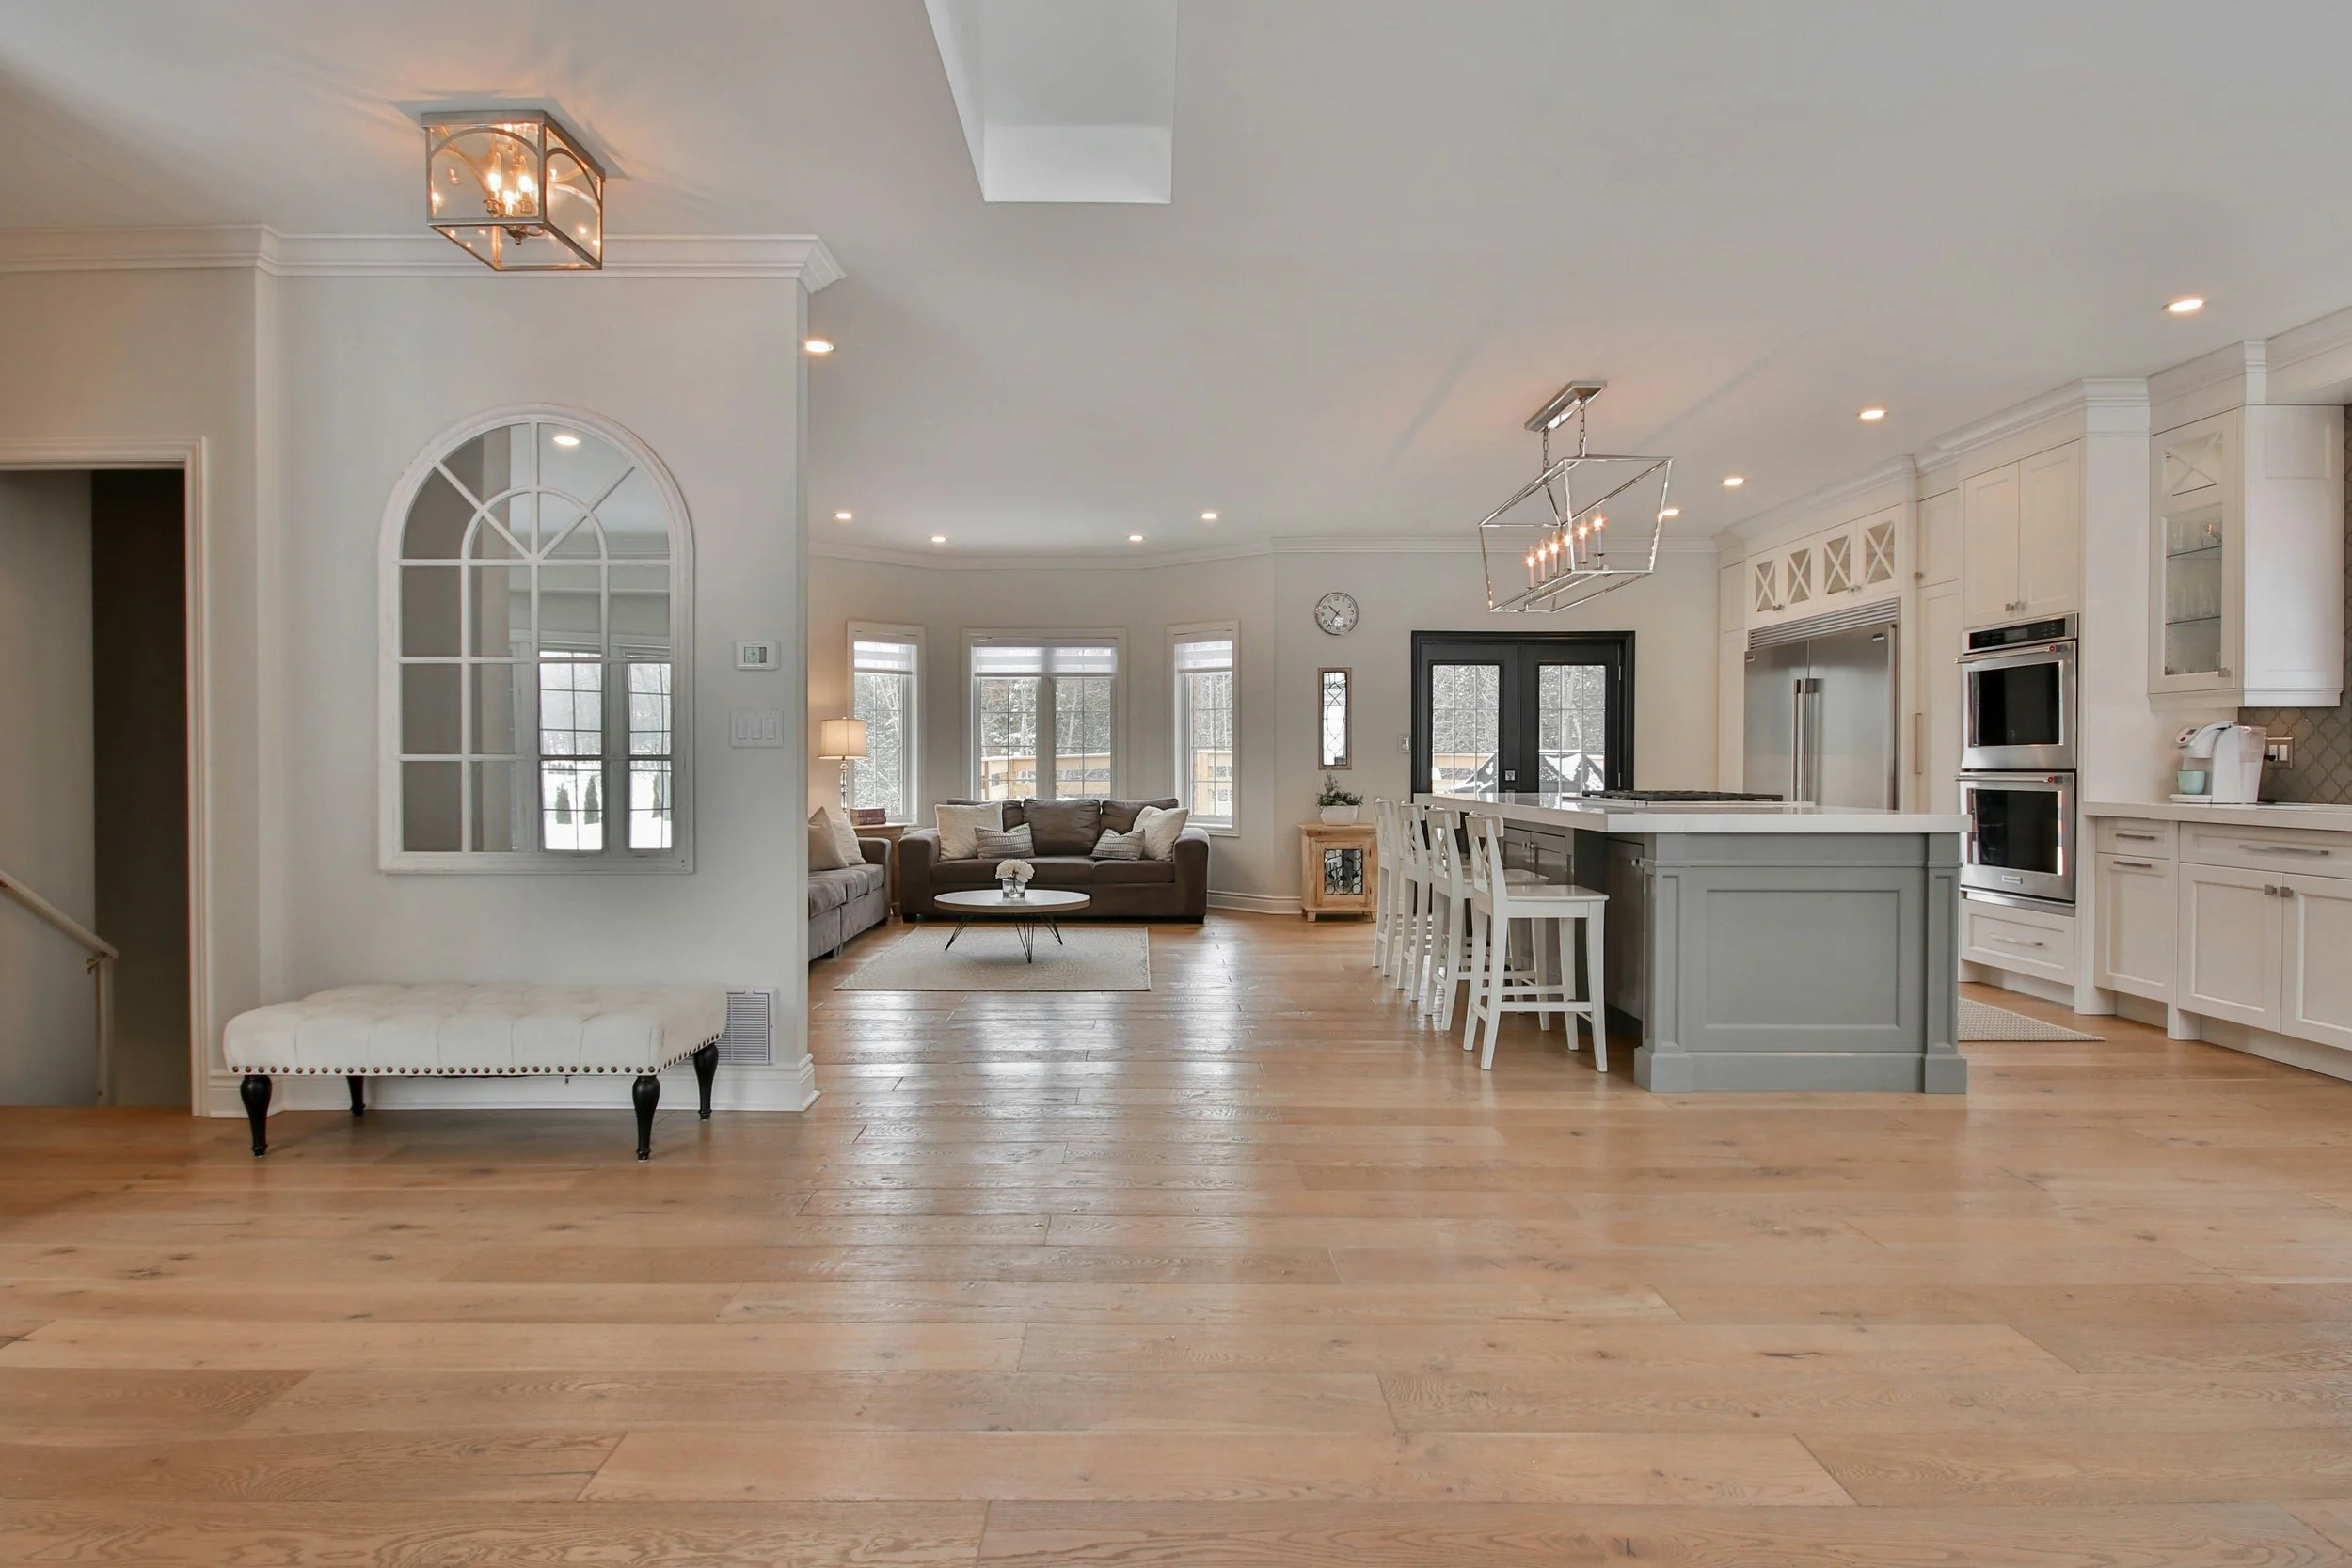
Engineered hardwood has a hardwood wear surface bonded to a softer wood core. The layered construction makes it more stable than a solid board with widths over 5 inches, making it far easier to install. The lower layer allows it to have various installation methods including glued down, nailed down, floating, and click-lock floating, meaning it can be used on almost any surface.
The visible top layer commonly ranges from 3 mm to 6 mm. The thickness determines how many future sandings are possible. Manufacturers promise multiple sandings are possible, but in reality, contractors are hesitant to sand multiple times because of the risk of going through the top layer. It’s helpful to keep a few boards in case one has to be replaced. Ask for the veneer thickness and the manufacturer’s written refinishing guidance before treating an engineered floor as renewable. Its factory-applied finish avoids the sanding and coating stage in the home, which makes installation faster, easier, and cleaner. Moving out or moving furniture is kept to a minimum as furniture can just move from one side of the room to the other during the installation process.
The factory finish is harder than finished in place floors particularly if finished with UV-cured epoxy finishes which hold up well even to the wear from a large dog.
Luxury Vinyl Tile and Plank
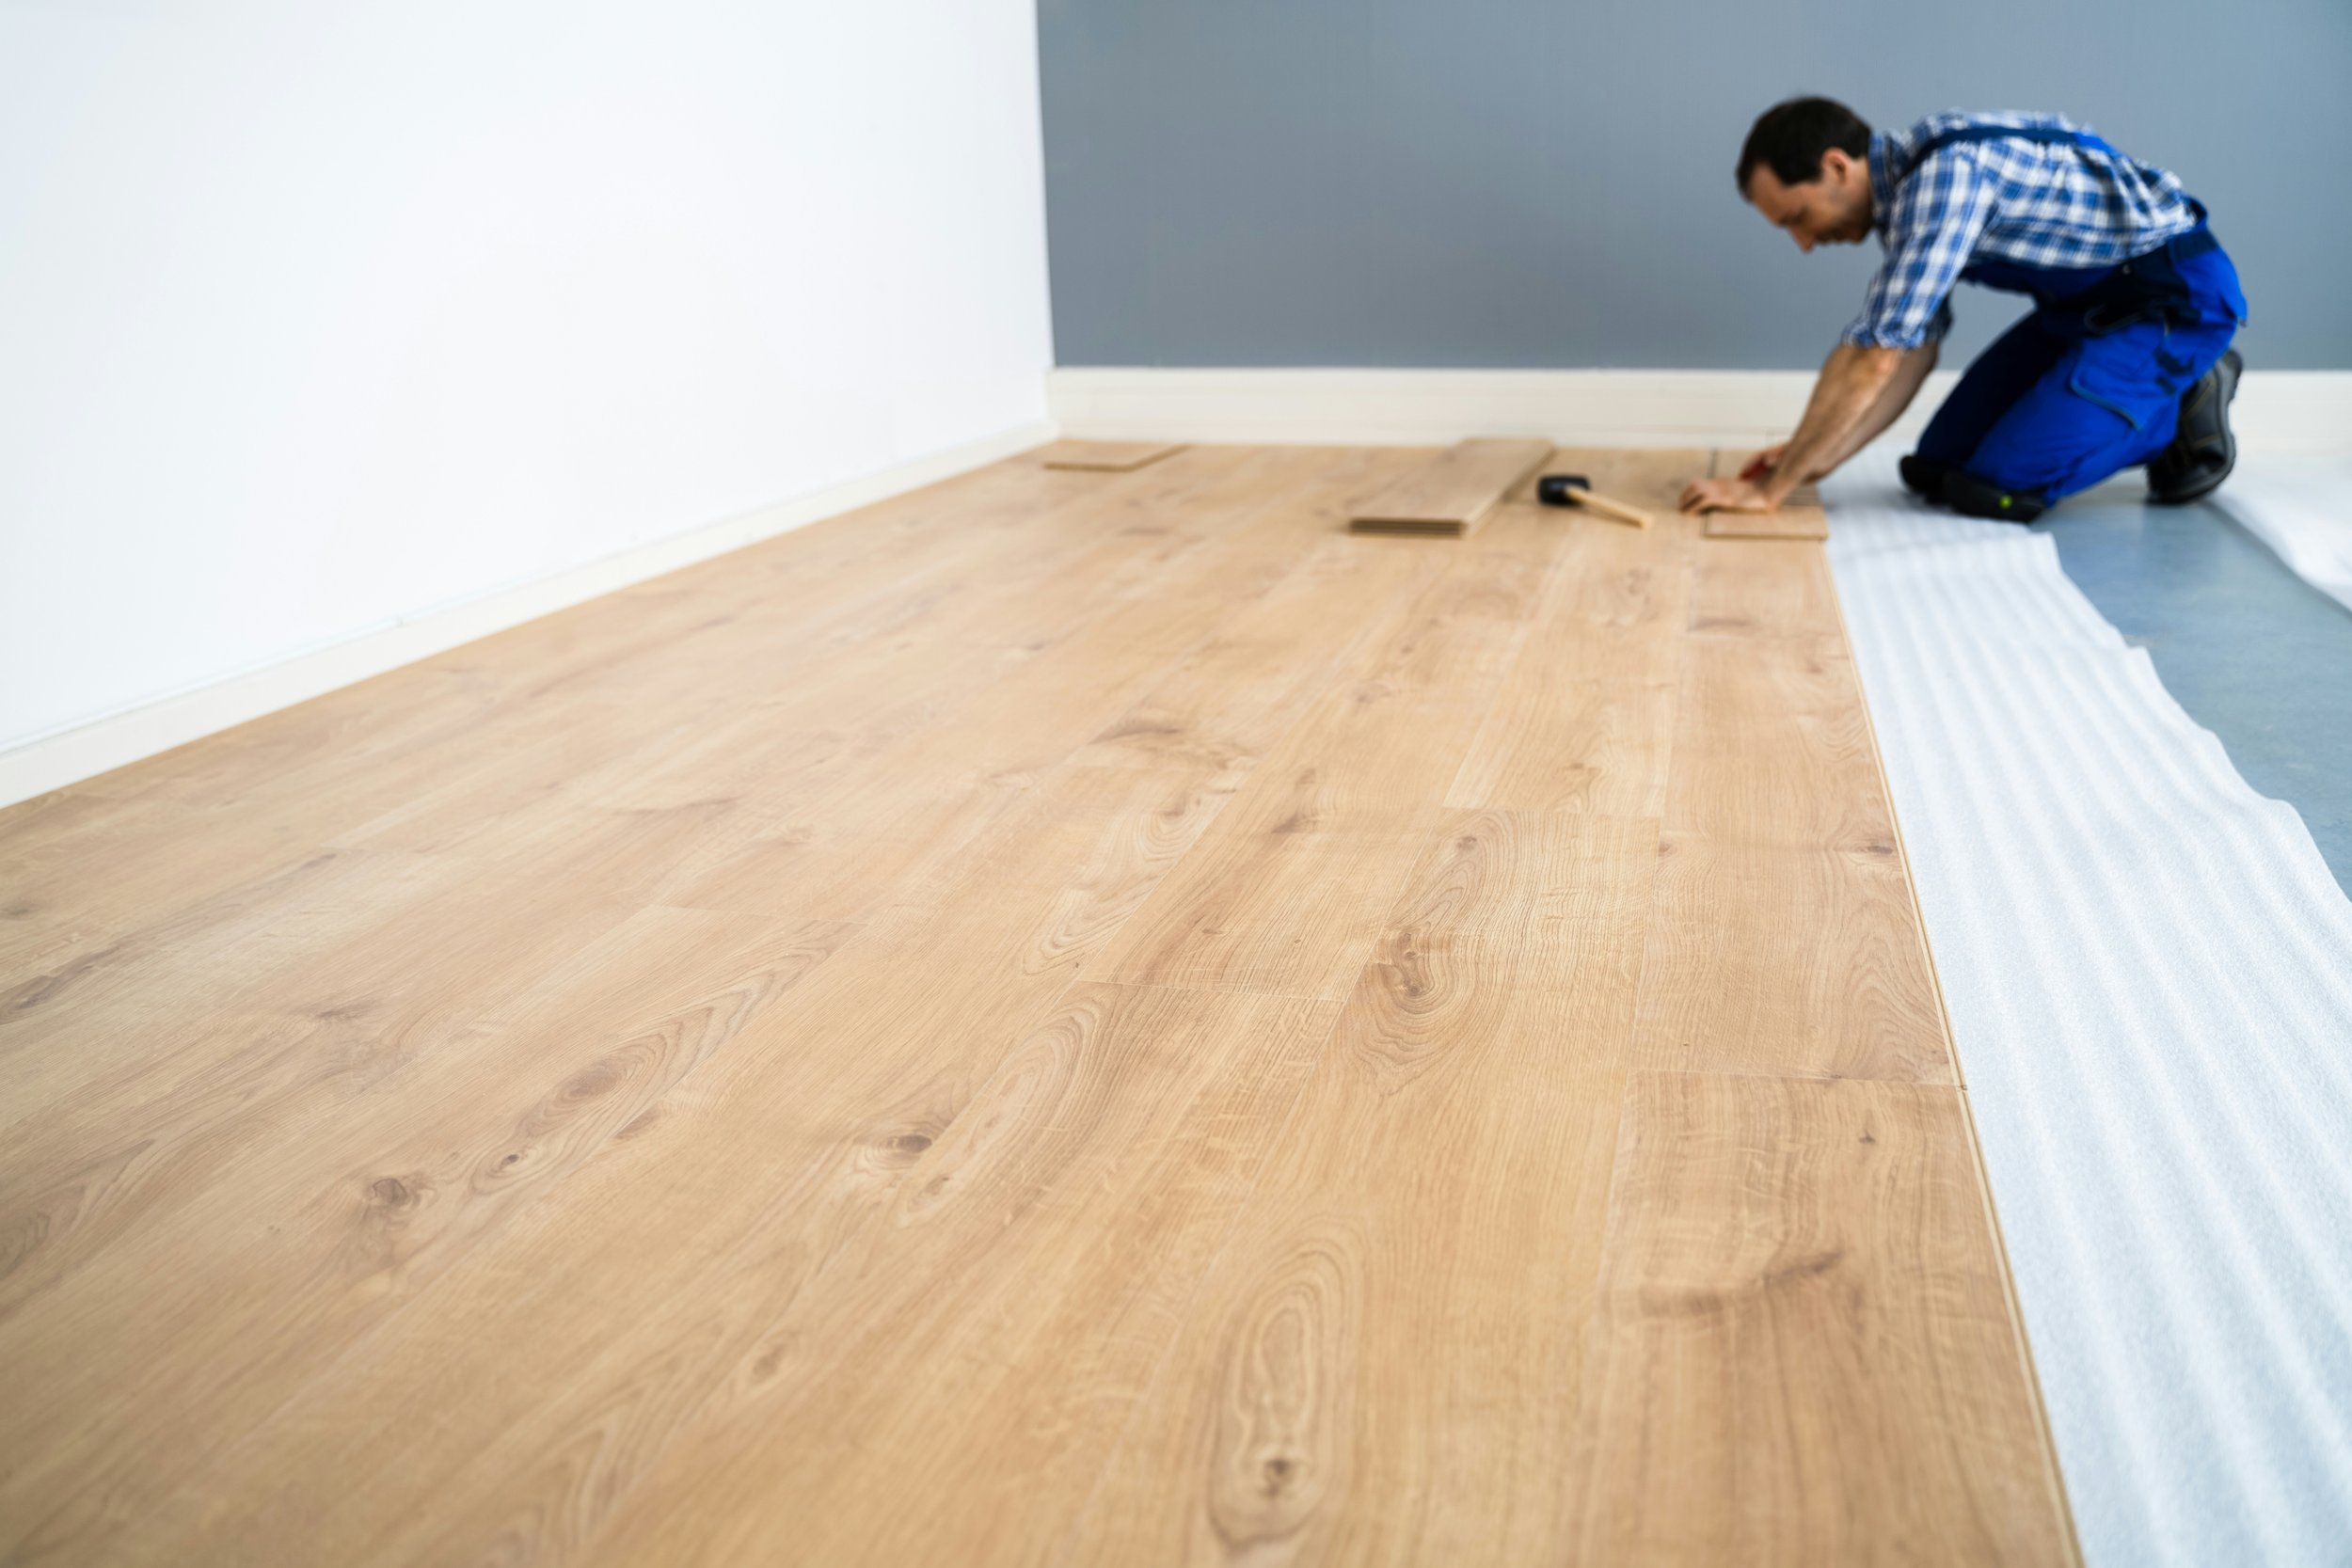
LVT and LVP are resilient flooring products with a printed and textured design layer and a protective wear surface. They are sold in click-lock floating formats as well as glue-down formats.
Many LVT products are marketed as waterproof, but that claim applies to the product under stated conditions. It does not guarantee that water cannot pass through seams, perimeter gaps, penetrations, or transitions and damage the subfloor. LVP cannot be sanded or refinished. Good quality boards; however, are durable and often used in high-traffic areas. Also, if damaged, they can be replaced with matching boards. Save a few at the time of installation as matching them years later is difficult.
Which is Easiest to Install?
For a typical room with a sound, flat subfloor, click-lock floating LVT is usually the easiest and quickest of these choices. It avoids wet adhesive and, unlike site-finished hardwood, does not require on-site sanding and coating. Glue-down LVT takes more preparation and careful adhesive work. Its thin profile can be useful where floor height is limited, but adhesive installation is less forgiving of subfloor irregularities and is usually best handled by an experienced installer.
Floating engineered hardwood is often the simplest wood-floor installation if the chosen product allows it and the room is appropriate. Nail-down engineered flooring requires fastening equipment and a suitable wood subfloor.
Solid hardwood finished in place is usually the most involved: the floor must be installed, then sanded and finished. Moisture testing, board layout, dust management, and curing all matter. “Easy to install” should not be confused with “easy to get right.” Poor preparation can lead to movement, gaps, squeaks, hollow spots, or visible lippage.
| Type of Installation | Ease of Installation | Subfloor Required | Notes |
|---|---|---|---|
| Nail-Down | Moderate to difficult | Typically, a suitable wood subfloor, such as plywood. | Creates a secure, long-lasting installation, which can require no transitions. Common for solid hardwood. Cannot be installed directly over concrete. Not good for solid wood boards 5 inches or wider. Good for aging in place. |
| Glue-Down | Moderate to difficult | Clean, dry, and flat wood or concrete subfloor, as approved for the flooring and adhesive. Moisture testing may be needed. | Keeps floor height low. Allows for a good sound proofing layer. Drying time is necessary before walking on it. Removal is usually difficult. No saddles or transitions needed at the doorways. Good for wide boards. Good for aging in place. |
| Floating (glue-joint) | Moderate | Flat, clean subfloor; use only the underlayment or moisture layer specified by the flooring instructions. | Planks are joined with adhesive at the edges but are not fastened to the subfloor. Often quicker than glue-down; needs perimeter expansion space and careful joints. Cabinetry cannot be placed on top. Floor must float around it. Transitions needed between rooms, for long hallways, and when meeting other flooring such as tile. Not good for rooms with odd shapes that might interfere with the floors floating or pin the floor down. Sound proofing easy. |
| Floating (click-joint) | Easy | Flat, clean subfloor; underlayment depends on the product and whether padding is attached. | Avoids adhesive at the plank joints so faster than floating. Poorly manufactured boards may come apart. Otherwise, has all the same features of a floating floor. |
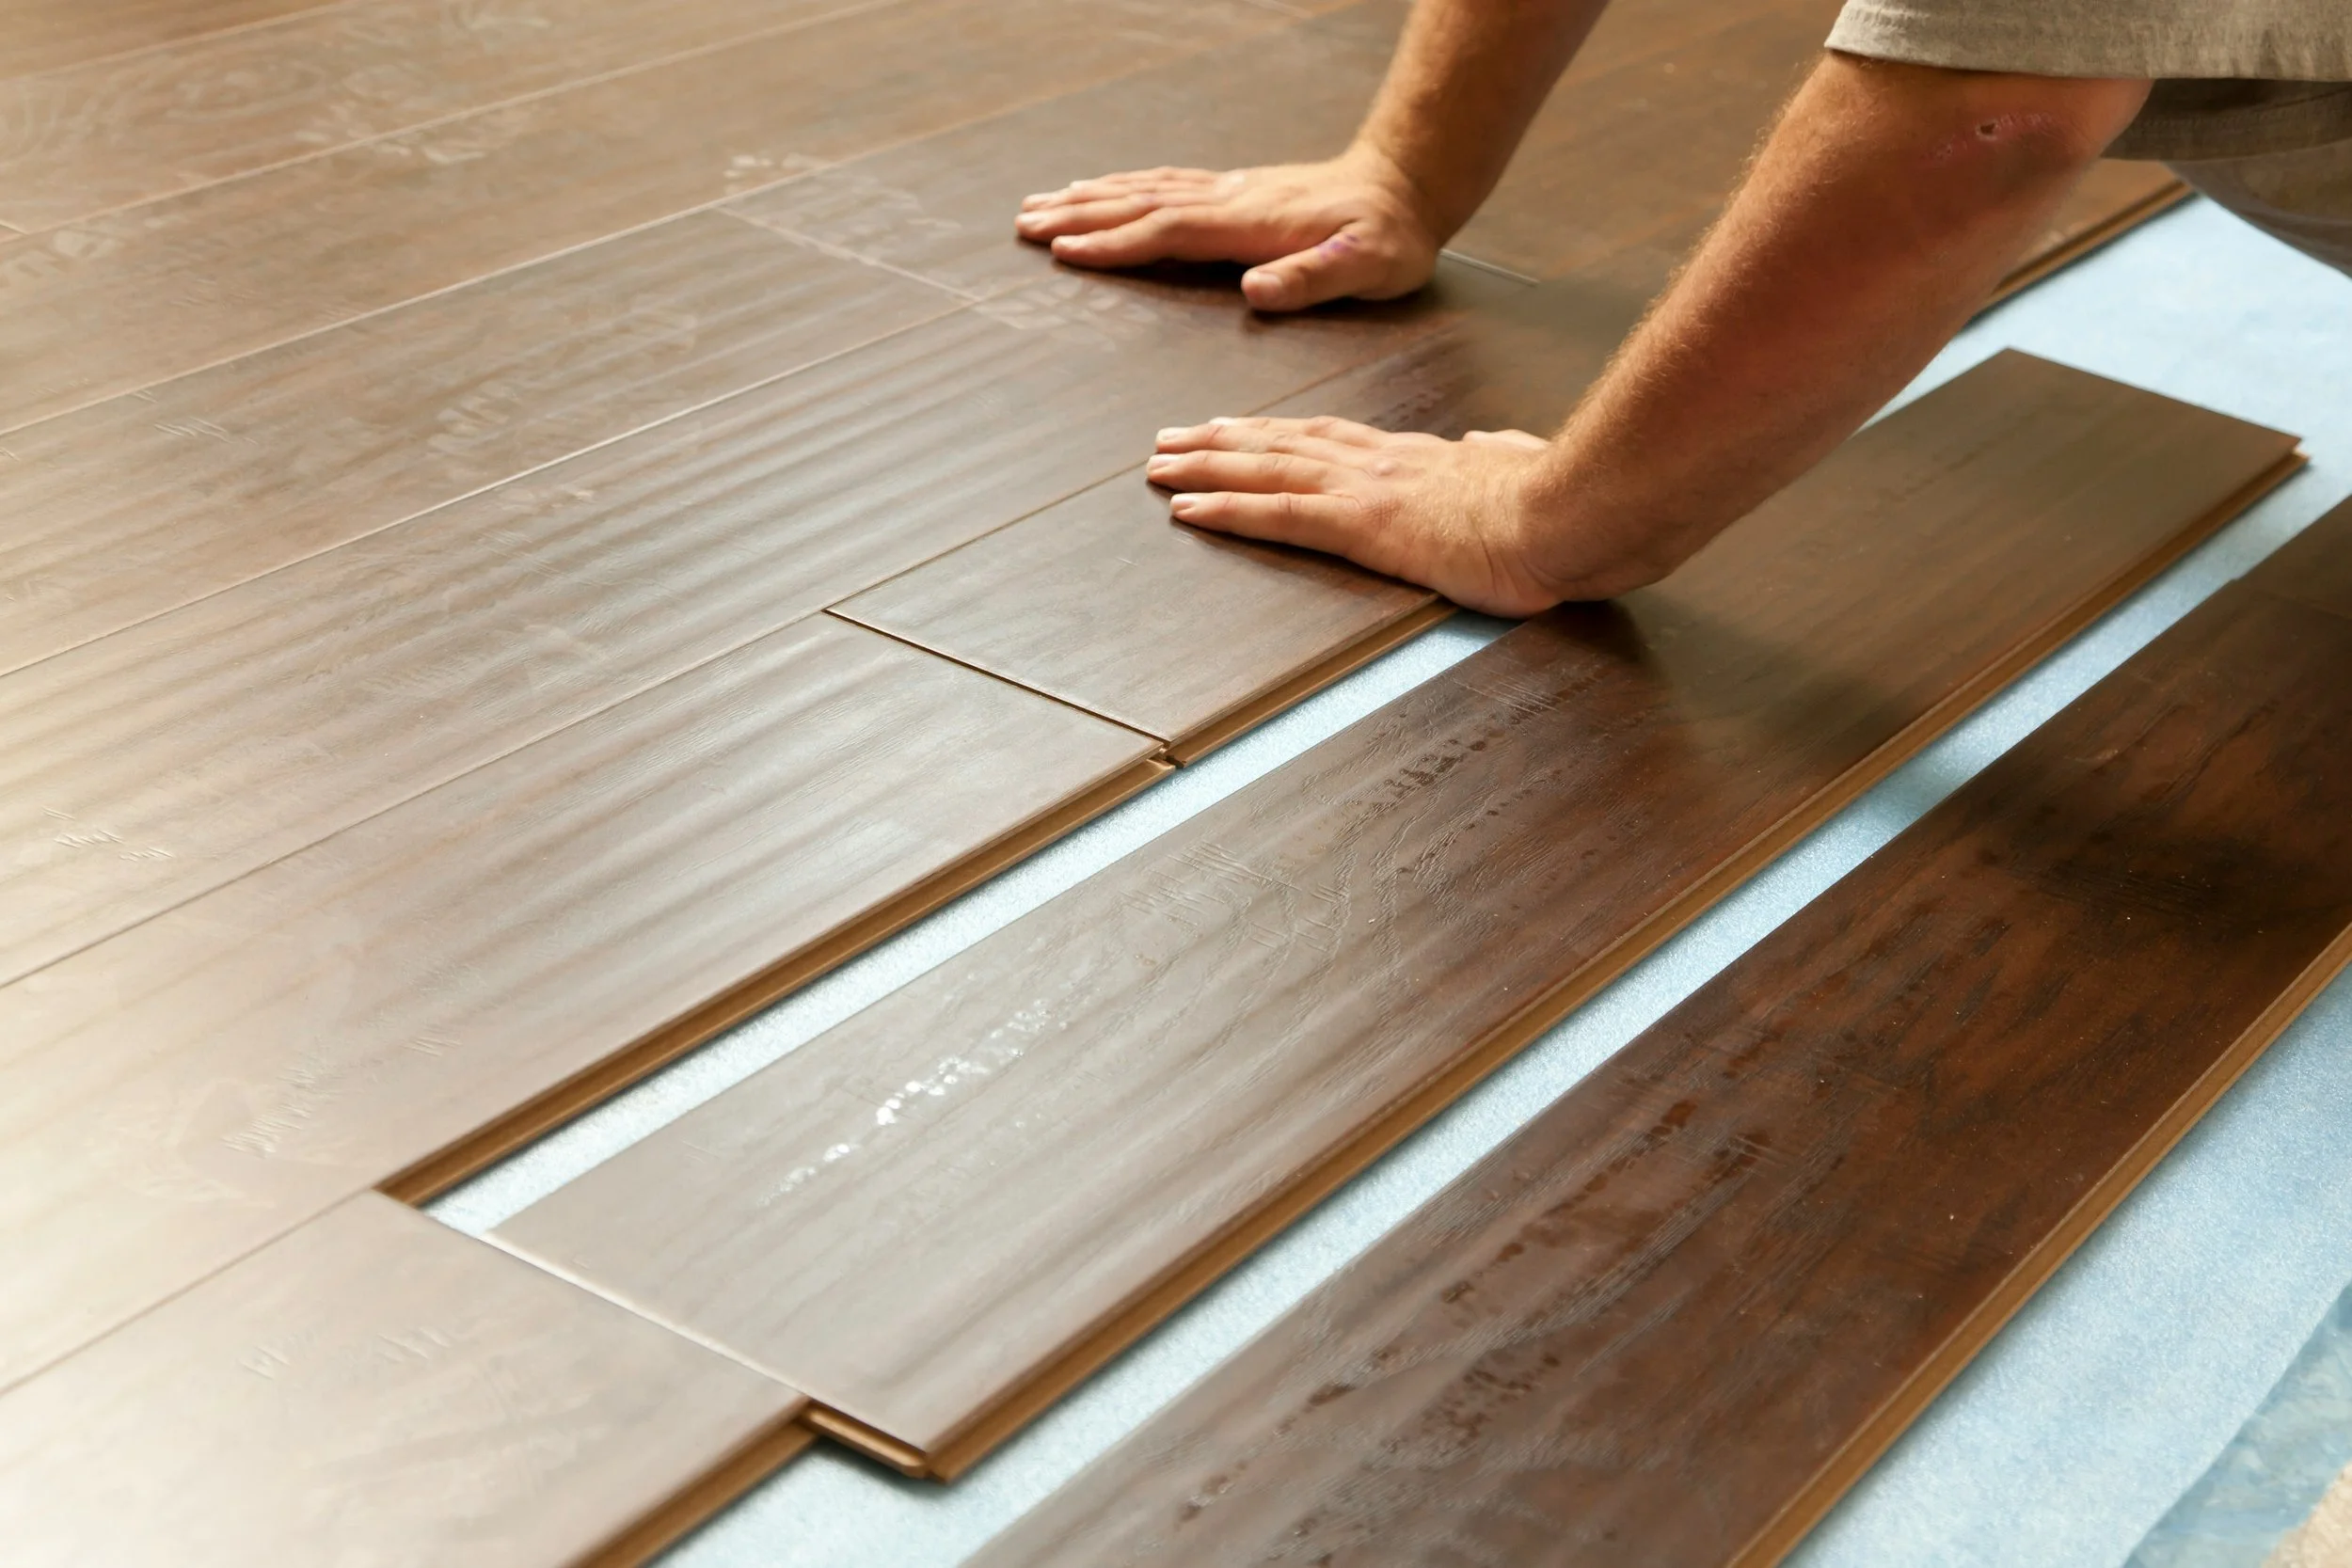
Floating Floors and Glue-Down Floors
Floating Installation
A floating floor is not fastened directly to the subfloor. The boards or planks connect to one another and rest over an underlayment that allows it to move within the constraints of the walls. The boards are cut short of the wall on all sides by ¼ inch. This gap; however, is covered by ¾ of an inch of quarter round or baseboard so that it’s never visible.
The floor must float freely, or it can form kinks creating a hollow underneath it. For this reason, transitions are needed wherever the floor can be caught up such as in doorways or along long halls. Often a T molding is placed in doorways and at the beginning of hallways to unlink from larger rooms. Cabinets, islands, door jambs, fasteners, or trim should not pin it where the product instructions prohibit restraint. The underlayment must allow the floor to move. Cork does not, so requires a slip surface between the floor and the cork.
Floating floors can accommodate modest seasonal movement.
Glue-down Installation
With glue-down installation, the flooring is bonded to the subfloor with an adhesive specified for that product and substrate. A direct bond can create a firm, stable feel and may reduce the softness under foot associated with floating floors. Glue-down works well where a low profile is important and there is a need to eliminate transitions, such as, when designing for aging in place.
Solid wood boards of 5 inches or more require glue-down or a combination of nail-down and glue-down installations.
Glue-down installation requires more labor and materials particularly when soundproofing is required which requires a soundproofing layer to be glued down as well. The correct glue has to be used and applied correctly, or parts of the floor can become loose creating buckling of the floor particularly when floor moisture levels change seasonally. Glues designed to prevent this are flexible and akin to bubble gum making removal of the floors very difficult.
Final Considerations
In addition to considering the floor, it’s necessary to understand the peripheral costs. Moving a client and their furniture to do a floor could cost thousands of dollars. On the other hand, if they have family to go to and the furniture can be put in other rooms while different parts of the house are done, the costs will be far lower.
Most likely base shoe will have to be replaced, and it and the baseboards will require painting. If furniture is being moved, walls can be expected to require touch-ups or more. These considerations must be built into the costs when calculating the total cost of a new floor. For this reason, among others, it often makes sense to use a general contactor who can provide all the necessary services to complete a flooring project.
Notes about the author. Mitchell Newman has over 25 years in the building industry. He is the founder and senior partner at Stratagem Construction, Inc, a high-end renovation and remodeling company focused on serving high end interior designers in Chicago.